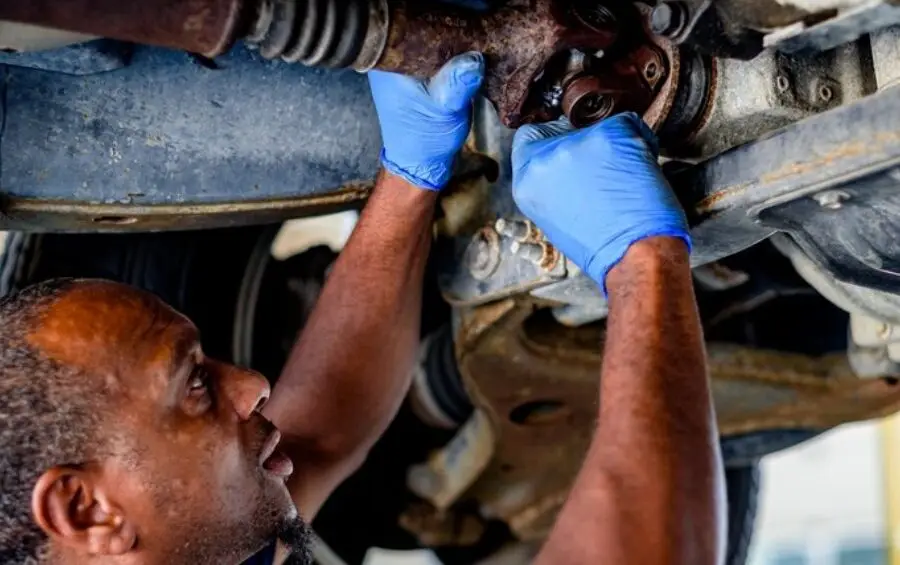
Changing your own oil takes about an hour once you have the right supplies. Always check your owner’s manual for the oil type, capacity and drain-plug torque.
What you need
- The correct motor oil and a new oil filter for your engine
- A new drain-plug washer (if your vehicle uses one)
- Wrench or socket for the drain plug, and an oil filter wrench
- Drain pan, funnel, gloves and shop towels
- Ramps or a floor jack and jack stands – never work under a car held up only by a jack
Steps
- Run the engine for a few minutes so the oil flows, then switch it off and let it cool enough to touch safely.
- Raise the vehicle on ramps or jack stands on level ground, and chock the wheels.
- Place the pan, remove the drain plug and let the oil drain completely.
- Refit the plug with a new washer and tighten it to the specified torque.
- Remove the old filter, wipe the mounting surface, smear clean oil on the new filter’s gasket and fit it hand-tight plus the turn listed on the filter.
- Lower the vehicle and fill with the specified amount of oil.
- Start the engine, check for leaks, switch off, wait a minute and check the dipstick. Top up if needed.
- Reset the oil-life monitor if your vehicle has one.
Recycle the old oil
Used oil and filters must not go in the trash or down a drain. Pour the oil into a sealed container and take it, with the filter, to a certified used-oil collection center – California has many, and the CalRecycle website lists them.
Need help finding parts? call the parts counter at (909) 623-3151.